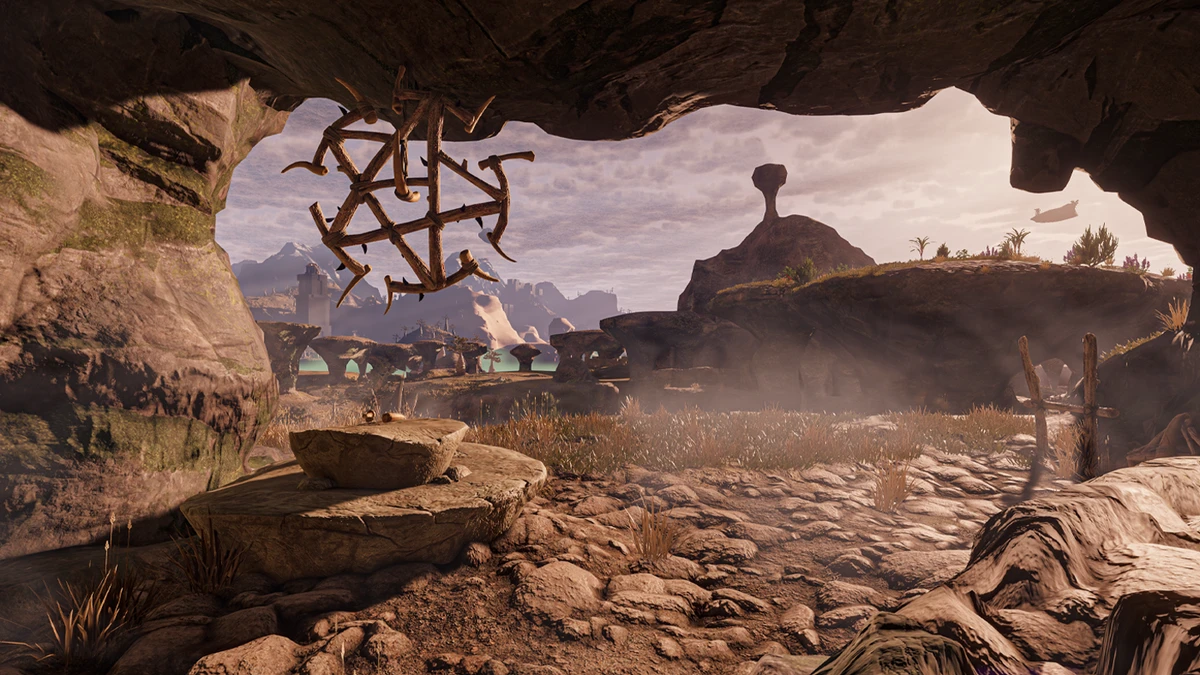
A Flame Level 1 challenge run in Enshrouded means you never upgrade your Flame Altar's Flame Level at any point in the playthrough. The Flame stays exactly as it was when you first lit it, so the Shroud never becomes weaker or more forgiving. Blue Shroud zones that would normally open up after Flame upgrades simply do not exist for you; nearly the whole map stays red and lethal, and every trip into the Shroud is governed by a very short timer. The run turns Enshrouded from a progression RPG into a routing and resource-management puzzle. The goal is not to grow stronger than the world, but to reclaim as much of Embervale as possible with the tiny toolkit the starting Flame allows.
What Changes at Flame Level 1
Normally, upgrading the Flame is the main gate on exploration. Each upgrade weakens the Shroud in a wider radius, increases how long you can survive inside it, and unlocks new regions, NPCs, crafting stations, and progression content. At Flame Level 1 none of that happens. The practical consequences are:
- The Shroud remains deadly almost everywhere, so travel becomes a time-budget problem rather than a combat problem.
- Progression content tied to Flame upgrades, including NPC unlocks and some crafting stations, must be reached through alternate routes or careful timing.
- Shroud Roots still exist and still hold valuable skill points, but the Shroud around them must be crossed without the usual protection.
- Efficiency, preparation, and creative routing matter far more than raw power.
- All content normally gated by Flame upgrades, such as specific NPCs, crafting stations, building blocks, and Steam Achievements, becomes harder or requires alternative methods.
Prerequisites and Setup
- Start a normal world. The challenge is self-imposed; the game does not have a dedicated mode for it.
- Use whatever difficulty you prefer. The core rule is only that the Flame Level is never upgraded.
- Accept that some content may be unreachable or impractical, especially deep Shroud areas.
- Plan around the second Flame Altar early, since it is your main mobility tool.
Shroud Time: The Core Constraint
At the start of the run you have about 5 minutes of total Shroud time. Roughly 4 minutes come from the character and 1 minute from the Flame itself. Red Shroud converts that pool at an extremely poor rate, on the order of 1 second of red Shroud time per minute of total timer. That means you cannot simply walk through red zones; you need every extension you can find.
Ways to Extend the Timer
- Inner Fires skill: each level adds 2 seconds, for a total of 6 extra seconds of red Shroud time across all three levels.
- Gemini Ring: grants an Inner Fire skill upgrade.
- Ring of the Heir: provides a flat Shroud time bonus.
- Pikemead's Bulwark: holding it grants an additional 2 seconds of red Shroud time.
- Consumables and buff food: these can further extend your usable time. The exact items are part of the exploration; the guide deliberately avoids spoiling their locations.
Treat every second as currency. A run that fails is usually a run that ran out of timer, not one that ran out of health.
The Second Flame Altar
Your first altar anchors your main base. Your second altar is a forward checkpoint, and in this challenge it is arguably more important than the first. Place it near the edge of a Shroud region you need to work in. Inside the altar's protected boundary, the Shroud is halted, creating a safe zone even in otherwise lethal territory. You can also upgrade the altar once to expand that boundary. Common uses include:
- A staging point before a timed Shroud crossing.
- A safe respawn point close to a farming route.
- A temporary base near a Shroud Root you intend to destroy from range.
- A gathering hub next to a resource that would otherwise be too deep in the Shroud to farm.
- It serves as a flexible support point to make survival in the Shroud significantly more manageable.
Destroying Shroud Roots from a Distance
The hand axe is the normal tool for Shroud Roots, but it requires standing next to the root, which means standing in red Shroud. Instead, damage the root from outside the danger zone:
- Mage: use spells to hit the root at range.
- Ranger: use explosive arrows, ideally combined with relevant ranged skills.
Pick a firing position that is already outside the red zone, confirm the root is in line of sight, then unload before your timer drops. This is the main way to keep earning skill points in a run where you cannot safely clear Shroud enemies.
Water as a Shroud Bypass
Diving gives you roughly 30 seconds of oxygen, extendable with buff food and gear. When you dive into water that is covered by Shroud, only the oxygen timer drains; the Shroud timer does not. That makes water a bridge through Shroud-infested terrain. Night Sanctums are a strong example: their long dangerous corridors can be filled with water, letting you swim to the loot at the end while largely ignoring the Shroud timer. Any water source you can redirect into a Shroud area becomes a traversal tool.
Unlimited Powder Balls for Terrain Digging
Early pickaxes make digging slow. The starting tutorial cave contains two shelves with 5 Powder Balls each, intended to teach terrain destruction. One sits near the entrance on the left shortly after entering; it behaves like a chest with a cooldown and does not restock on world restart. The other sits near the end of the cave and does restock when you restart the world. Place your second Flame Altar near that second shelf to farm Powder Balls quickly. The efficient route needs the Double Jump skill to cross the dirt wall separating you from the shelf.
Leveling Without Shroud Combat
Shroud enemies are a poor experience source at Flame Level 1, so mine instead. The area next to the first Ancient Spire in the Springlands has numerous Flint veins, and the large deposit there yields roughly 5,000 experience when fully mined. It is safe, repeatable, and available from the start. Use the best pickaxe you can craft, take mining skills such as Mason, and wear a Miner's Helmet to stack mining bonuses.
Unlocking Cade Hawthorn, the Carpenter
The Carpenter is the first NPC you need and also the first real test of the run. His Ancient Vault sits inside a mountain filled with deadly red Shroud, south of the Low Meadows Ancient Spire. The task is to reach and activate his capsule before the Shroud timer runs out. Scout the approach, set your second altar as close as the boundary allows, then make the final push with your full timer available.
Practical Run Notes
- Never upgrade the Flame, including any prompt that offers a Flame Level increase.
- Keep a written or mental map of safe boundaries and altar coverage.
- Bank skill points into Inner Fires and mining efficiency before anything else.
- Expect balance changes; Enshrouded is still in development, so timers, items, and routes may shift between patches.