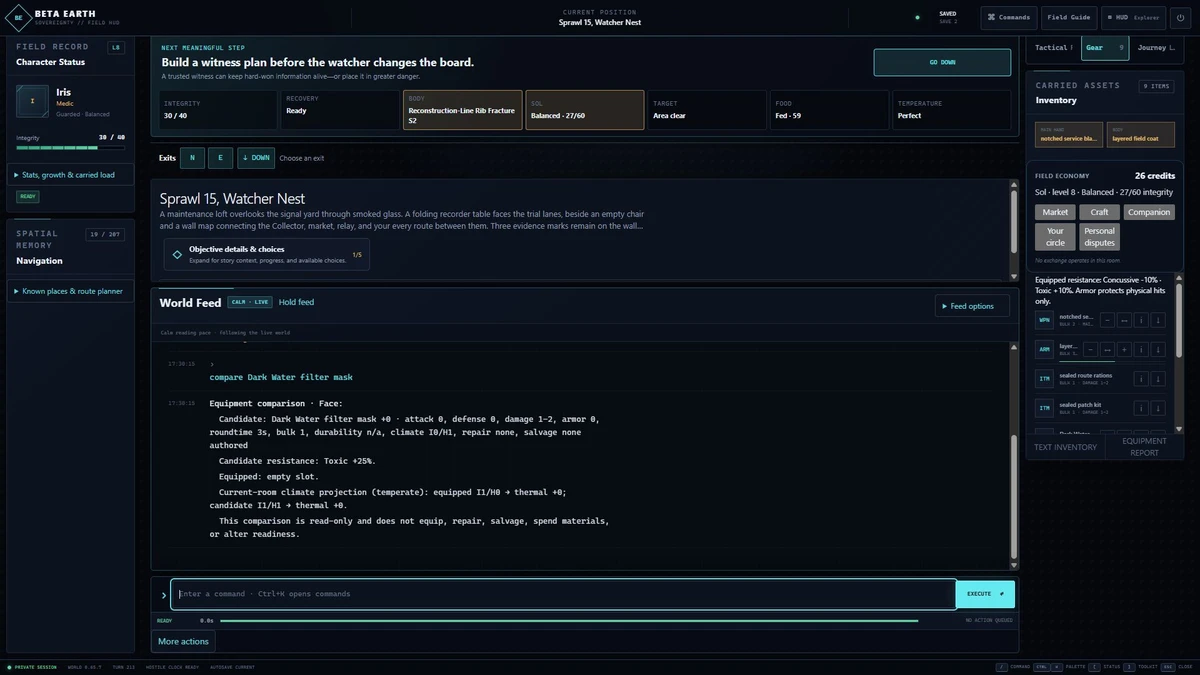
To launch a run in Beta Earth: Sovereignty Next, open the main game's mode menu and select Second Chances, then complete setup for either Standard or Fear and Hunger Track 1. This is not the easier Second Chance difficulty found inside Sovereignty, and your run progress remains separate from Sovereignty saves.
Opening window: setup, Arrival Grace, and first prompts
New characters receive Arrival Grace, which gives you time to inspect panels. It ends once you pick READY, leave successfully, or intentionally become hostile. Because it cannot be switched back on, keep watching for active threats while you read. If you are not ready to commit, inspect the situation through NEXT or COACHING CHECK. When a Gate Route is active, NEXT stays on that path instead of pointing toward ordinary campaign travel.
Training scene and combat tempo
In 0.90.0-dev.17, Show me the ropes provides a single optional introduction to your class, commands, fighting, and survival. You may pause or resume it, use Enter the world to finish, or bypass training entirely. It consumes no resources and does not put you into danger. Journeys 2 changes combat pacing: recovery after committed actions stretches out, while enemy and Sol preparation also takes longer. Normal movement and help actions keep their usual speed. Treat these longer gaps as time to read intent and choose a defense, not as a pause.
Reading the field and assembling case evidence
ASSESS and TRACKS are your situation-reading tools. FIELD CASES lists investigations you have uncovered, while FIELD ARCHIVE holds evidence and unresolved questions. A case advances only with the correct clue type in the correct region; pulling unrelated tracks will not close it. When something goes wrong, AUTOPSY reviews the pressures recorded from what you observed. Its explanation can guide a different choice, and starting over with another class is not automatically required.
Ordinary enemies may now hide behind cover or pursue you from room to room. Use SEARCH on suspicious cover, then reassess after traveling. WEATHER also influences aim and footing. Do not assume an enemy suffers from the same conditions you do.
Conflict options, negotiation, and Gate Route fights
An attack is not always the only answer. Available alternatives can include PRESSURE, FEINT, DISARM, SUPPRESS, THREATEN, BREAK, and SURRENDER; consult local help for the form that fits the target. Before acting, weigh intent, readiness, pressure, your partner, and escape routes. Some opponents are open to negotiation, but machines, beasts, and other unsuitable targets are not. Yielding or retreating also denies kill experience and kill loot, so choose the result that best fits the moment while accepting its consequences.
During Gate Route encounters, advance with NEXT one step at a time. It first provides a living target when one is needed, then offers an attack. Required Gate opponents remain in the fight, although ordinary enemies can still withdraw. On an older save, guidance might send you into a neighboring room to find a required foe that escaped earlier. A Gate phase clears only when the specific opponents tied to it are defeated; a kill from another encounter does not count, and beating a single member does not skip the rest. If the phase has not advanced, review NEXT and the remaining roster before leaving.
Fear and Hunger Track 1 milestones
Before BUILD CONFIRM, set MODE MILESTONES to 2, 3, 5, or OFF. Crossing a selected interval causes EVOLVE MODE to present an offer. Relief lowers pressure, Edge grants strength but imposes a drawback, and Ordeal increases pressure while possibly yielding field rewards. Compare all three, then select by the shown number, name, or category. The offer persists through a reload, so reopening the save will not reroll it. Effects you choose remain for the run, and migrated characters do not gain extra stacks for levels already passed.
Coaching, caches, shelter, and survival prompts
COACHING opens the guide. Set it to COACHING QUIET, ADAPTIVE, GUIDED, or OFF according to how much assistance you want. Manual lessons and decision drills remain available for learning and do not grant gameplay rewards. CACHE STATUS, CACHE STORE <item>, and CACHE RECOVER <item> manage caches for items you already carry. SAFEHOUSE STATUS records your shelter. Check supplies before upgrading it and remember other survival needs.
When bleeding, newer guidance points to STABILIZE. If you are also prone, it recommends STAND first. Low-food warnings remain visible: carrying a ration can create an EAT SEALED RATIONS choice, and lacking one will not lock the next-step guidance inside a help report. These prompts do not treat you automatically, and the world continues moving after Arrival Grace ends. Sol offers strong automatic guidance up to level 5, then gradually reduces it through level 10 as you grow more capable. COACHING CHECK is available whenever you want help, and Quiet or Off still allows fewer interruptions. Optional journey events also appear here; Events and JOURNAL EVENTS let you review, respond, or ignore them. Decisions and aftermath survive reloads, there is no response deadline, and you do not need to reopen the panel to make progress.