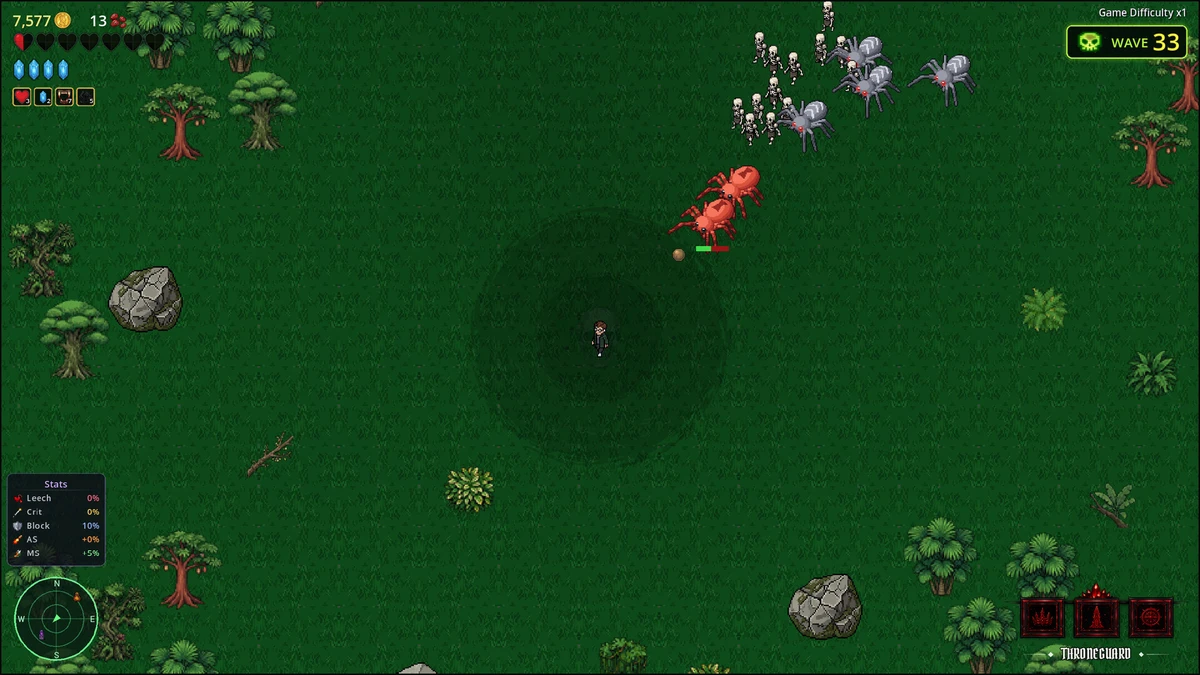
To survive and progress through beginner runs in Glintwave, start at a difficulty you can handle, keep moving, collect useful drops safely, unlock Radar early, complete achievable Quests, and spend Coins on Talents between runs. Build consistency before raising the difficulty or chasing complex Relic and Arcana combinations.
Beginner run plan
- Choose a comfortable difficulty while you learn movement, enemy patterns, pickups, and boss attacks.
- Keep moving to avoid enemy swarms. Your weapons fire automatically, so focus on positioning rather than aiming.
- Collect Coins, Coin Bags, Hearts, Treasure Chests, Power Shards, Relic Shards, and other useful pickups when the route is safe.
- Use your Ability Power manually when enemies surround you, danger spikes, or extra damage can secure a fight. It consumes Mana Shards.
- Check the Quests screen and choose objectives you can make progress on during the current run.
- After the run, spend Coins on useful Talents and set one clear goal for the next attempt.
Stay alive during waves
- Do not run directly into a pickup just because it is nearby. Surviving is more valuable than taking unnecessary damage for a reward.
- Use open space to avoid being trapped by enemies, and return to safer paths after collecting nearby resources.
- Save Ability Power activations for crowded encounters, sudden danger, or important damage windows instead of using them immediately.
- Prioritize weapon upgrades that support one another. Improving an effective weapon can be better than adding unrelated effects.
- Learn boss patterns and make sure your build has enough damage, mobility, and defensive support for the next major encounter.
Use pickups and resources correctly
| Resource | Beginner use |
|---|---|
| Power Shards | Help obtain weapons from your unlocked weapon pool during a run. They are also used in some Quests. |
| Relic Shards | Take them to Danco to obtain Relics, or sell surplus shards for Coins when permanent upgrades are the priority. |
| Coins and Coin Bags | Use them between runs in the Talent Tree. |
| Hearts | Restore health or provide health-related support; collect them when doing so does not put the run at unnecessary risk. |
| Mana Shards | Fuel your selected Ability Power. |
| Mana Bottles | Support your Mana supply during longer runs. The Apprentice Talent can improve their availability. |
| Treasure Chests | Offer special rewards. Seek them when the route is safe. |
Power Shards, Relic Shards, and Mana Shards are separate resources despite having similar names.
Unlock Radar early
Radar is one of the most useful early progression goals because it helps you locate nearby objectives and resources without wandering into danger. In version 1.01 and later, ground Power Shards and Relic Shards appear on Radar when they are within range.
- Work toward the Radar requirement shown in the game's progression or Quest information.
- Use Radar to plan safer routes toward nearby rewards.
- Collect resources that match your current goal, such as Coin farming, a stronger build, or Quest progress.
- Do not cross a dangerous swarm for a single indicator; Radar helps with navigation but does not replace positioning.
Build weapons and use Ability Powers
Weapons
Weapons attack automatically and become stronger as their ranks improve. Learn what your starting weapon does before spreading upgrades across too many effects. Some weapons must be unlocked through Quests or other progression before they can enter your available weapon pool.
When a weapon reaches maximum rank, the Rune Obelisk can carve it into a more powerful crystal form with additional characteristics. Remember the Obelisk if you find it during a run with a maxed weapon.
Ability Powers
Shockwavecan create breathing room against approaching enemies.Explosionis useful when enemies gather together.Lightningprovides another offensive option and is associated with a Quest unlock.
Select an unlocked Ability Power in the customization menu, learn its activation control from the in-game introduction or controls, and manage Mana Shards so you can use it when it matters. Try each Ability Power as it becomes available rather than assuming one is best for every build.
Choose Relics, Arcana, or Coins
Defeated enemies can drop Relic Shards. At Danco, spend them on Relics to strengthen the current run, or sell them for Coins to accelerate permanent progression. Early on, selling surplus shards is a reasonable way to fund Talents; keep shards when a Relic would clearly improve your current build.
Three particular Relics can awaken an Arcana, a powerful passive effect. With more than 200 combinations, Arcana discovery is a long-term goal rather than a beginner requirement. Start with Relics that support your weapons, survivability, or Ability Power, and use the Glossary to track discoveries.
Spend Coins on useful Talents
Prioritize Talents that make runs more consistent, improve collection, or strengthen the playstyle you already use. Examples include:
Attractorfor greater pickup range.Greedy GoblinandEasy Moneyfor stronger Coin gains.Lonely Piratefor more Treasure Chest opportunities.Slayerupgrades if you rely mainly on weapons.Power Overdoseif you frequently use Ability Powers.Much Lovefor a better chance of Heart drops.Meditationfor a chance to avoid spending a Mana Shard on activation.Wizard's Wrathfor a chance to trigger an Ability Power twice.I'm Invinciblefor a once-per-game resurrection.
Check each Talent's price and prerequisites in the Talent Tree before planning around it.
Use Quests to unlock content
Quests provide major progression, including heroes, weapons, Ability Powers, worlds, and other rewards. Check them regularly and combine objectives when possible so one run advances several goals.
To unlock the Swamp, complete the Swamp-related world-unlock Quest, then return to the world-selection screen. The Jungle and City are also available as progression targets, depending on what you have unlocked. Hidden Quests are optional discovery challenges; no specific solutions are needed for beginner progress.
Increase difficulty gradually
Each world contains 100 waves across five escalating tiers, with major bosses every 20 waves and an endboss at Wave 100. Glintwave has ten difficulty levels, up to x10, and higher settings can introduce Game Modifiers as well as better rewards.
- Survive reliably at a lower setting.
- Unlock Radar and buy Talents that improve survival, collection, or income.
- Learn boss patterns and refine weapon combinations.
- Complete Quests and unlock additional content.
- Raise the difficulty one step at a time when your current runs are consistent.
A failed run can still be useful if it advances a Quest, teaches enemy patterns, or provides resources. A reliable lower-difficulty run is usually better for progression than a high-risk attempt that ends before you can collect its rewards.
Simple progression loop
Survive → Explore → Collect → Complete Quests → Earn Coins → Buy Talents → Unlock more content → Increase difficulty